|
Step |
Description |
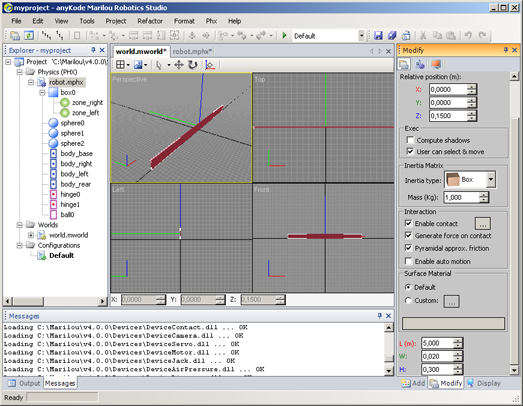
First box:
- Activate the world.mworld document,
- Create a box (Add-> Physics-> Box) and set lengths L=10.0, W=0.02, H=0.3,
- Center the box resetting its matrix (
 ), ),
- Move the box on the Z axes to +0.15m (for putting it over the default ground that is at Z=0)
- Check the Compute Shadows property for allowing shadowing management.
|
|
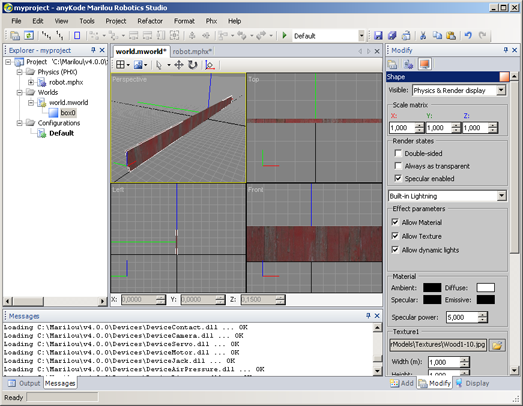
Dressing the box:
- Select the box and show the Modify panel,
- Choose the Shape sub panel,
- Set diffuse color to white (255,255,255),
- Choose a texture file.
|
|
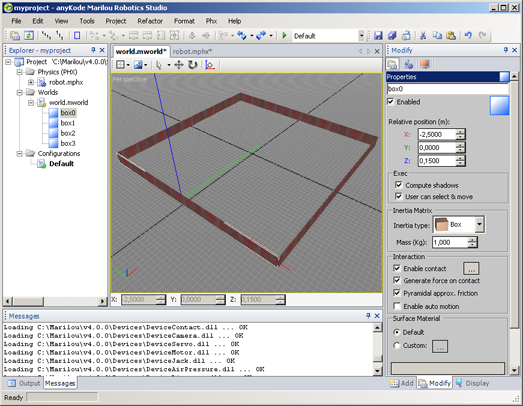
The area:
- Copy/paste the box 3 times (we have now 4 boxes),
- Move created boxes and rotate 2 boxes of 90° around Z axis.
- Move all boxes in order to complete rectangular area.
|
|
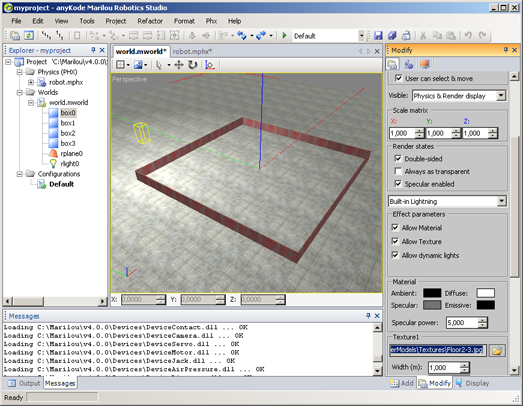
The ground:The world owns a default ground (infinite plane at Z=0, see Configuration properties) that is used in physics (dynamic objects cannot go under the ground). But, this ground does not have any graphical display (shape). We will add a 3D plane for displaying the ground : this 3D object does not have any incidence on physics, it is just for displaying something !
- Create a 3D Plane (Add-> 3D-> Plane) in perspective view,
- Reset its matrix,
- Change lengths to L=20.0, W=20.0,
- Set diffuse color to white, and choose a texture file,
- You can select all entities and press G for grouping them.
Note: You can disable grid display for a view: activate the view then show the Display panel. Uncheck the Display Grid property. |
|
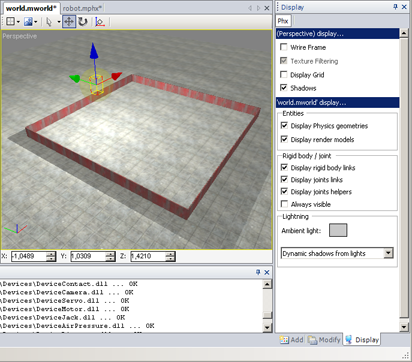
The light:
- Create a light (Add-> 3D-> Light),
- Move it at the desired location then set its Range property to 10.0m,
- Check the Generate Dynamic Shadows property for allowing shadowing from this light.
For displaying shadows you have to enable it from the Display panel (check Shadows).
Note: shadows are active if the object allow shadowing AND the light that illuminate object has the Dynamic Shadowing property checked. |
|


 Description