Embedded devices.
We will attach embedded devices to our robot. The devices are attached directly on entities: a distance sensor can be attached on zone entity whereas a motor is always attached to a joint axis. In this sample, we will use the default sensors/motors properties.
In this chapter we will attach a motor on joints axes : therefore, it is easier to create one joint, setting its properties and devices, then copy/paste it ...
|
Step |
Description |
|
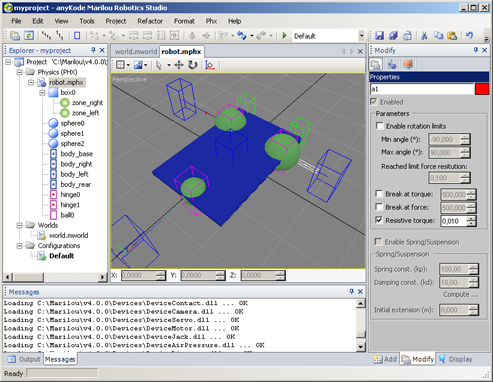
Axe's properties: Select right joint's axis then show the Modify panel. For selecting an axis, you can click on the axe from a view using mouse, or, select the joint then click in the picture that show the axis (in front of Body 1 or Body 2 properties). |
 |
|
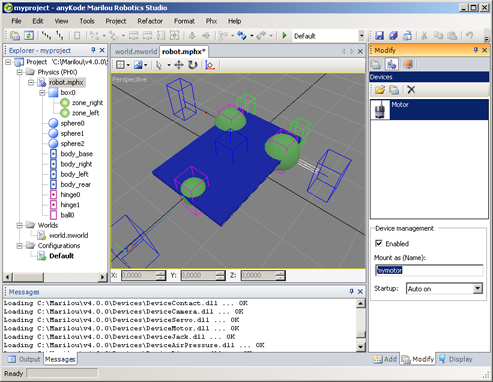
Attach a motor: (See also Motors and Servos)
|
 |
|
Étape |
Description |
|
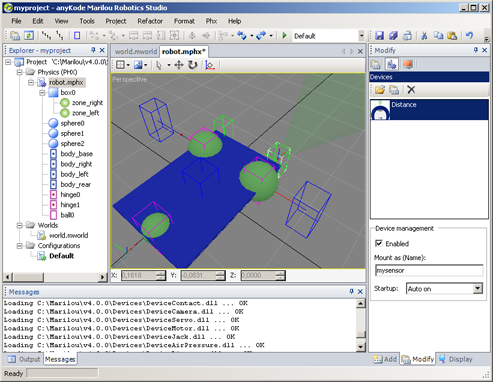 |
You can see on pictures that devices are in Auto-on state: that's mean that they are inactive until an external application try to communicate with them.
|
Documentation v4.7 (18/01/2015), Copyright (c) 2015 anyKode. All rights reserved.
|
|
What do you think about this topic? Send feedback!
|


 Description