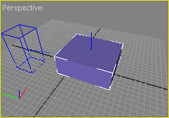
Placing a contact sensor in the model.
Creating a contact sensor:
|
Step |
Description |
|
 |
|
 |
|
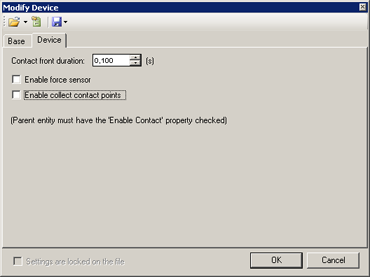
Double-click on the sensor's reference in order to display/change its settings: Contact front duration: when a contact occurs, the contact flag is set to 'true' during the contact duration time. Enable force sensor: Enable/Disable the forces sensor management for each 6 half-axis. Enable collect contact points: Allow/Disallow the parent geometry to collect contact points. Enable this feature in order to use the DeviceContact::GetContactPoints function. |
 |
|
In MODA programming, contact sensors are accessible via the DeviceContact class. The sensor's full path, starting at PHX "/" is box0/contact. |
|
|
Documentation v4.7 (18/01/2015), Copyright (c) 2015 anyKode. All rights reserved.
|
|
What do you think about this topic? Send feedback!
|


 Description