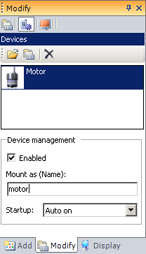
Placing a motor in the model.
|
Step |
Description |
|
(Samples/Devices/Motor).
|
 |
|
 |
|
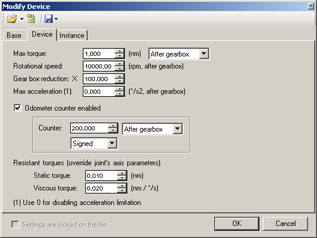
Double-click on the sensor's reference in order to display/change its settings: Max torque: Indicates the motor's maximum torque: here you many enter either the torque of the motor itself or torque after reduction (gearbox). Rotational speed: Maximum rotation speed of motor axis after reduction. Gear box reduction: Reduction coefficient for the reduction box (i.e. 100:1). Max acceleration: Limits the motor accelerations. 0 indicates the motor does not have acceleration limit. Odometer Enabled: Indicates whether or not an odometer counter is being used. Counter: Indicates counter resolution per axis rotation, placed either directly after the motor or after reduction (gearbox). The counter can be signed or unsigned. Resistant torques: Static and viscous resistant torques. Set to 0 for disabling this feature. Those parameters override joint's axis: you can disable this behavior by checking the property do not override axis resistive torques (Instance panel). (See also axis settings) Initial rot. Speed: Rotational speed to reach at the simulation startup (if device is On). |
 |
|
In MODA programming, motors are accessible via the (or DeviceMotor class) class. The motor's full path, starting at PHX "/" is hinge0/a1/motor. |
|
|
Documentation v4.7 (18/01/2015), Copyright (c) 2015 anyKode. All rights reserved.
|
|
What do you think about this topic? Send feedback!
|


 Description