Attaching a compatibility plugin to a robot.
This section describes how to attach a compatibility plugin to a robot. We will use a robot with an embedded servo-motor card as an example: the EASYROBOTICS SXW24 card.
|
Action |
Description |
|
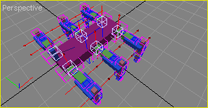
Open the .mphx document representing the robot. We will use Hexapode_mi03.mphx in our example. The plugin is attached to the robot itself. As the robot is described by a PHX, you need to open the PHX to change its properties. |
 |
|
Display the PHX's properties (PHX menu ->Settings) and select the "Compatibility" tab. Here, click on Add to view the compatibility plugs that may be attached to the robot. Choose the EASYROBOTICS compatibility plugin, then click on OK to continue. The following screen shows the list of compatible EASYROBOTICS plugins. Choose the SXW24 card, then click on OK to return to the PHX configuration window. The robot is now compatible with the SXW24 card. The next step is to configure the card. |
 |
|
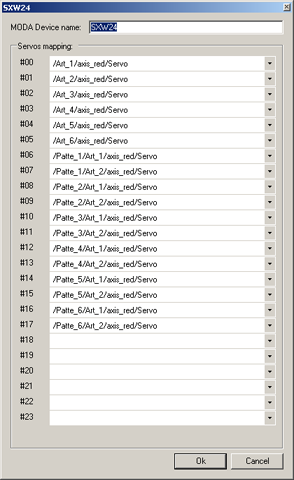
Select the EasyRobotics-SXW.dll line and click on Settings to display card properties. The configuration offers to create a link between the card's internal mapping and Marilou mapping. Click on OK to validate configuration. Your robot can now handle commands via serial link! (See Compatibility plugins, EASYROBOTICS SXW24 to finish setting up your robot) |
 |
|
Documentation v4.7 (18/01/2015), Copyright (c) 2015 anyKode. All rights reserved.
|
|
What do you think about this topic? Send feedback!
|


 Description