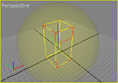
Placing an light source system into the model.
Light source devices are attached to a 3D Light type entity.
|
Step |
Description |
|
 |
|
 |
|
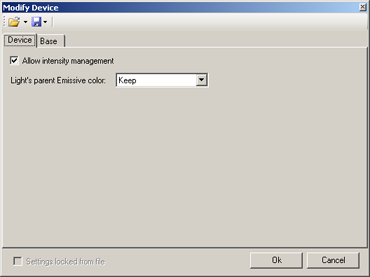
Double-click on the sensor's reference in order to display/change its settings: Intensity Management: If option is checked, light source is able to manage intensities values from 0.0 to 1.0. Otherwise, the light can only be in the states ON (1.0) or OFF (0.0). Light's parent Emissive Color: Choose how the light changes its parent's emissive color:
|
 |
|
In MODA programming, lights sources are accessible via the DeviceLightSource class. The device's full path in this example, starting at PHX "/" is "rlight0/device0". |
|
As 3D light is considered as a rendered entity, it is therefore possible to attach it to a physical entity so that it follows the movement of the entity (see Attaching to a physical entity).
|
Documentation v4.7 (18/01/2015), Copyright (c) 2015 anyKode. All rights reserved.
|
|
What do you think about this topic? Send feedback!
|


 Description